|
|
|
|
Introduction: During 2013, I sent out many CDs and DVDs with sample Greenstone collections to several car collectors and historians to demonstrate what Greenstone can improve their archives. I also assembled a few larger collections on USB drives. What else could be done with a USB drive? Early in 2013, I retired an old Shuttle computer (Pentium 4) and installed Linux Mint (Cinnamon) 15 on the hard drive to replace Windows XP. A new Mint version 16 became available later that year and the Shuttle installation, with Greenstone, was updated. I experimented with "Puppy Linux" to determine if it could also run Greenstone. This is a very small operating system which runs speedily entirely from a USB drive. The trials showed that Puppy Linux does not have a full Perl installation required by Greenstone. Rather than installing Perl on Puppy Linux, I put Linux Mint 16 on a 16GB USB drive (less than $10 when on sale). After some trial and error, I used a free USB creator program which loaded Mint from an downloaded "iso" file as the first part of the trials. On a second USB installation, more than 10 GB of the USB space was available to for files and programs. (In 2015, a 32 GB drive was cloned from the original 16 GB drive - it's large enough for all my prototype collections!) The total time to make this USB drive, excluding waiting, is less than one hour. This "portable Greenstone" was tested on several PCs - all had different, but acceptable, response times. Not all Greenstone functions have been tested, but this standalone USB is a good method to introduce the program to others. All of the standard Linux Mint programs work well, such as LibreOffice, GIMP, etc. Other Linux programs can be easily downloaded and added to the USB drive. Steps: 1. Download a Linux distribution. A fully featured version, such as Ubuntu or Mint (which has Ubuntu as its core) is preferred. Xubuntu and Lubuntu are "lightweight" Ubuntu version designed to use less computer resources and work better on older systems. All of these have a good support community such as tutorials, videos and forums. For any download, first choose whether it will be a 32 or 64-bit version. For Mint, you must also choose whether you will have the "Cinnamon" or "Mate" desktop version. I used Cinnamon and the file downloaded was "linuxmint-16-cinnamon-dvd-32bit.iso". 2. Normally, you use the "iso" file to make a "live DVD" to run on a PC, but this is not necessary to make a basic "live USB". 3. Download the free Linux Live USB Creator software and install it. It is a small but very good program to install many different Linux version - and other OS versions - on a USB drive. 4. Put a USB drive in a USB slot on your PC. I used a 16 GB drive, but 8 GB drives should be adequate for small collections. Run Linux Live. It has a colorful interface! The software steps are here and a YouTube video is here. This video tutorial is very good, but it has some steps which have already been done - you previously downloaded an "iso". Also:
5. When Linux Live is complete, you can shut down your PC. When you re-start it, interrupt the startup with the "Esc", F12, "Del" keys or any alternative key press that appears on your opening screen. In the BIOS setup menu, choose to boot from your USB drive. 6. Your PC should start with Linux - slowly the first time but much quicker on subsequent re-starts. 7. The software may prompt you to setup a network/Internet connection. Cinnamon did this automatically on a PC with an Ethernet connection. It required a key for a Wi-Fi connection on a different PC. Explore the Linux menu and software! 8. Before proceeding, decide whether you will need more than 4 GB for programs and data to be saved on the USB drive. The live USB drive saves data and programs in a file named "casper-rw" which is limited to 4 GB, imposed by the FAT-32 file system. If you plan to use more space, the USB drive must be partitioned to change part of the FAT-32 to a Linux file system (ext2, ext3) and be renamed. The Linux program "gparted" is used on the below-cited video.
9. The original 4 GB "casper-rw" file should be adequate to install Greenstone and experiment with a few collections, each 1 GB or less. Next, install Greenstone for either the standard 4 GB or an expanded "casper-rw" file/directory:
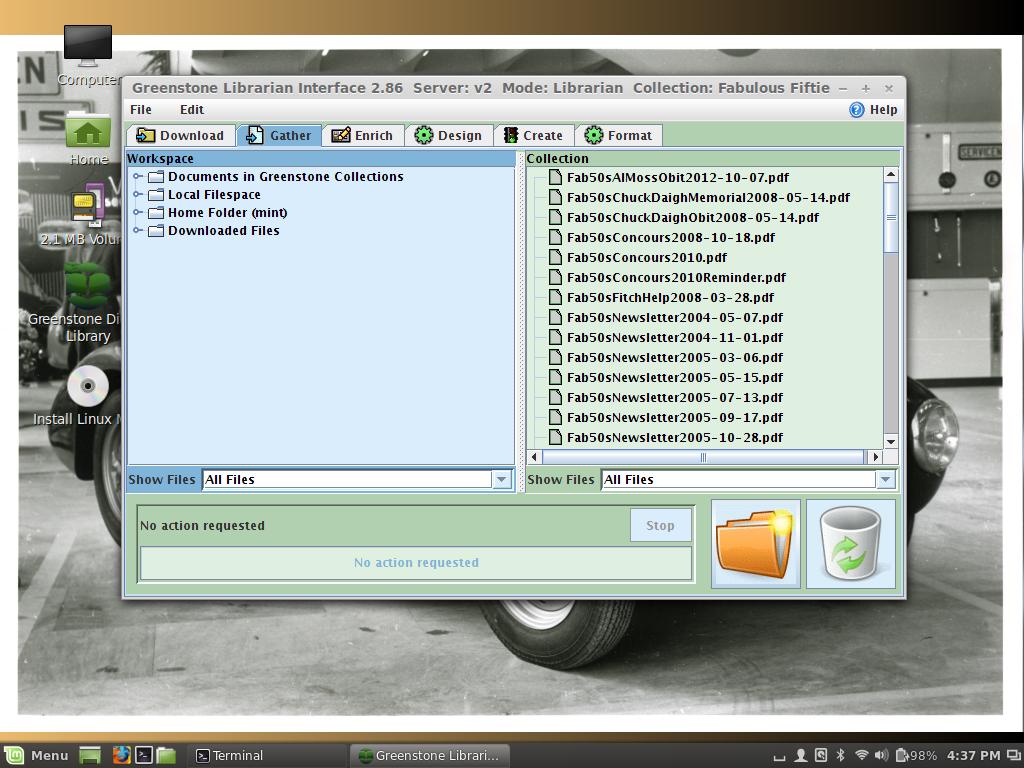
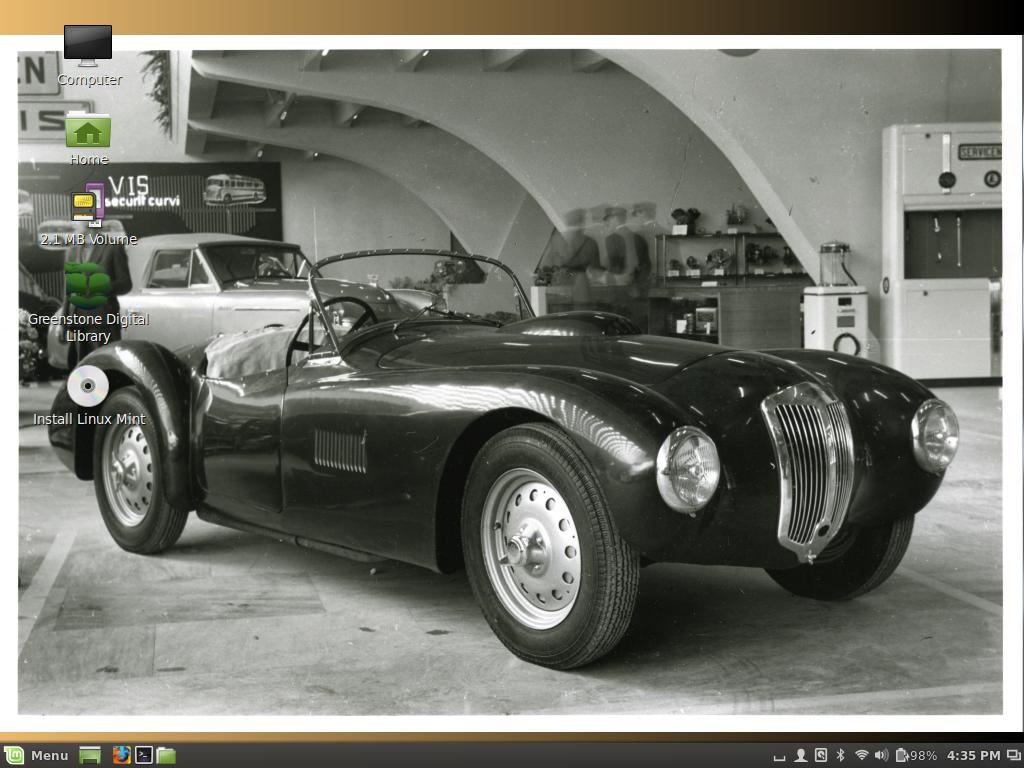
10. To make future access to Greenstone easier, make a link on the desktop with the "Launcher" by right-clicking on the Cinnamon desktop and "Create a new launcher here..", then navigating to the "gli-sh" executable. After that link shows up on the desktop, replace replace the default icon under the launcher's properties with the Greenstone icon. Linux uses the "png" format for icons, so use the GIMP Image Editor to open the Greenstone icon and "export" it to the png format. Figure 2 below shows the Mint desktop after the Greenstone link and icon are created. 11. Testing the Greenstone "build" function on a medium-size collection after adding two photos seem to result in slower performance than doing the same "build" with Greenstone on PC with a hard drive. This is caused by slower USB drive "transfer rates". Reads and writes on a USB drive are generally slower than to a hard drive, but can also vary if the USB drive is a "high performance" type. Also a drive on a USB 3.0 interface should be much faster than with a USB 2.0 interface. It would be interesting to try a similar "portable" Linux/Greenstone on a SSD (solid state disk) in a 3.0 USB external enclosure. 12. Other Linux programs and data - photos, audio and video files - can be added to the USB drive. Cinnamon Mint has more than 40,000 programs in a repository which may be downloaded and used. 13. The USB drive can be "cloned" with the Linux "dd" command, which is run in the "terminal" mode on any computer with Linux installed. Carefully follow Internet directions for this command. Use the Linux "Disk" command from the Menu to identify which USB drive is the "input" to be cloned and which will receive the files: the "output". The process took 2+ hours on a Pentium 4 Shuttle computer using identical 16 GB USB drives. Experience shows the drives should be identical brands/models/capacity. 14. In April, 2015, the original Mint partition was cloned to a 32 GB drive from the 16 GB drive using the Clonezilla program. Gparted was used to create a 28 GB casper-rw partition. The "home" directory was copied from the original 16 GB drive to the new casper-rw partition/directory and the new 32 GB booted up the same as the 16 GB drive. Success! Email me with any questions or comments! Bob Schmitt, rgschmitt@gmail.com
January 24, 2014 (updated April 19, 2015) |